Choosing a Fluorescence Microscope: Filters, Light Source and Camera
1. Filter cubes decide which fluorescence you can see
A filter cube combines an excitation filter, a dichroic mirror and an emission filter; one cube corresponds to one channel. A common set covers DAPI (blue), FITC/GFP (green) and TRITC/mCherry (red); multicolour work needs four to six.
Ask specifically: how many positions does the turret have, which cubes are included, and is switching manual or motorised? For multichannel overlay, motorised switching removes a great deal of operator error.
2. Light source: mercury, LED or laser
Mercury lamps are bright and broadband, but short-lived, hot, dim with age, need warm-up and raise disposal concerns.
LED sources start instantly, last long, hold stable output and can be combined by wavelength; some bands are less intense than mercury.
Lasers serve demanding applications such as confocal imaging: narrow-band and intense, at a step up in cost and complexity.
For routine fluorescence observation and imaging, LED is now the mainstream choice, especially where long continuous sessions are needed.
3. Camera: balancing sensitivity and resolution
Fluorescence signals are usually weak, so look first at sensitivity (quantum efficiency) and noise floor, then at pixel count.
Many small pixels can be noisier in low light than fewer large ones. For quantification and weak-signal imaging, choose a sensitive scientific sCMOS or cooled camera; for morphology and documentation, an ordinary digital camera suffices.
4. Light path and objectives: the most overlooked part
Fluorescence is extremely sensitive to light-path cleanliness — a single speck of dust shows up as a bright spot. Fluorescence-specific objectives transmit more and fluoresce less; ordinary objectives visibly lose signal.
Alignment of the fluorescence path and matching of filter cubes must be calibrated at handover; skip this and image quality never quite arrives.
5. Daily use and maintenance
Fluorophores photobleach: keep illumination time short and excitation intensity as low as the signal allows; switch off or block the source when idle; inspect and clean the light path periodically.
If several labels are used routinely, fix the cube combination and exposure settings into a standard procedure so results stay comparable between batches.
Conclusion
The order that works: decide the channels you need, then the light source type, then the camera according to signal strength, and finally confirm objectives and light path. Follow that order and the budget lands where it matters.
Equipment mentioned
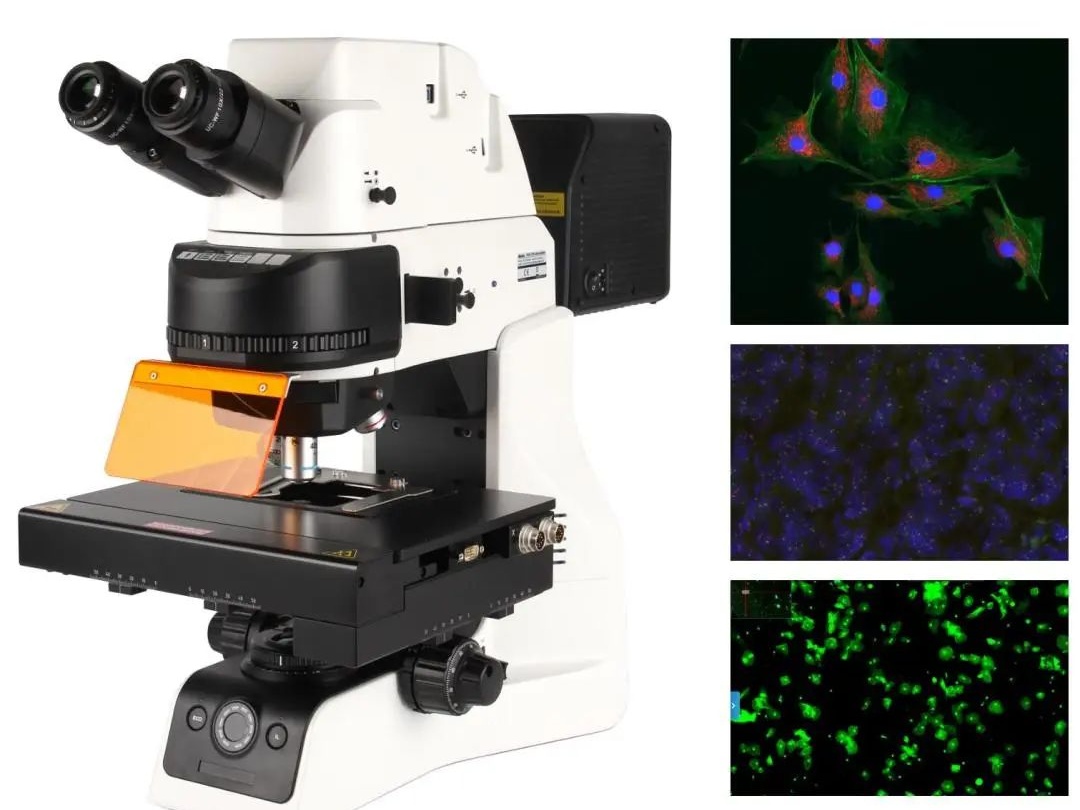
PA53 FS6 Inverted Fluorescence Microscope
The PA53 FS6 is a research-grade upright fluorescence micros
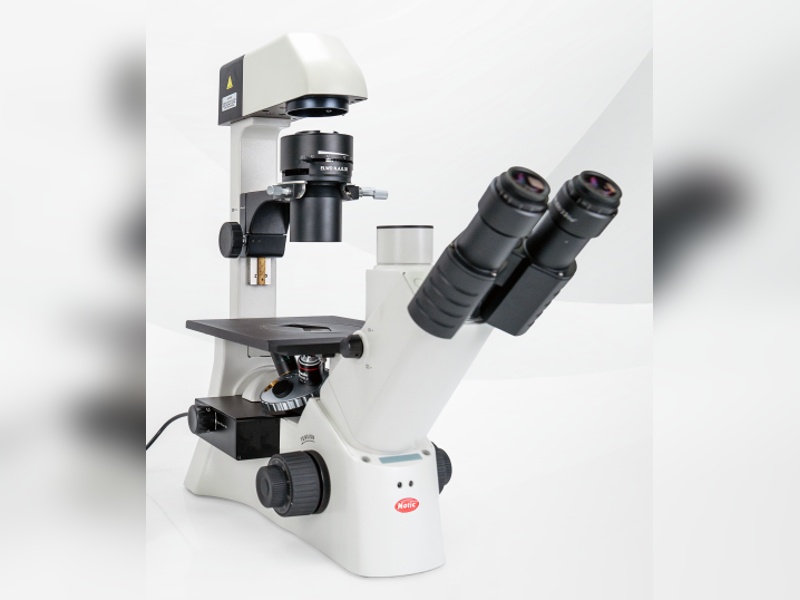
AE31E FL Inverted Fluorescence Microscope
An inverted fluorescence microscope with an LED fluorescence
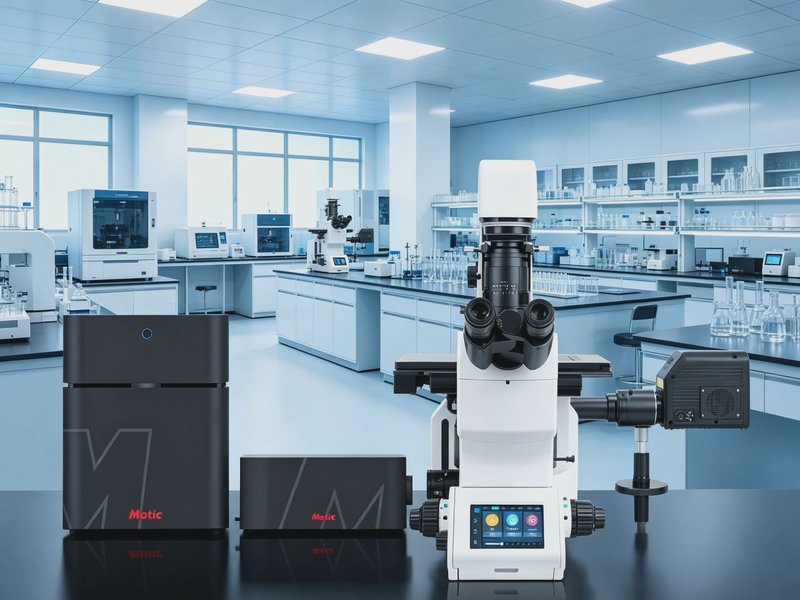
Vertex LS Laser Confocal Microscope
A domestically produced laser scanning confocal imaging and