Biological vs Stereo Microscopes: How Should a Laboratory Be Equipped?
1. The fundamental difference
A biological microscope uses transmitted light: light passes through the specimen from below into the objective, so the sample must be thin and translucent — sections, smears, a drop of culture. The result is a flat, magnified image.
A stereo microscope uses reflected light: light falls on the surface from above or the side and returns through two separate optical paths, producing genuine depth perception without requiring a translucent sample.
In one line: the biological microscope looks through, the stereo microscope looks at.
2. When a stereo microscope is essential
Thick, large or opaque samples: a whole insect, a circuit board, solder joints, yarn, seeds, mineral specimens, surgical instruments.
When you need to work while watching: dissection, soldering, rework, micromanipulation. The long working distance leaves room for hands and tools under the objective, which a biological microscope cannot offer.
When real spatial judgement matters: is a defect raised or recessed, does a wire pass over or under.
3. When a biological microscope is essential
Thin sections or smears requiring high magnification of cellular and tissue detail: pathology slides, blood smears, microbial morphology.
When a specific contrast mode is needed: stained samples in brightfield, live cells in phase contrast, labels in fluorescence, crystals in polarised light — all of these are implemented in a transmitted light path.
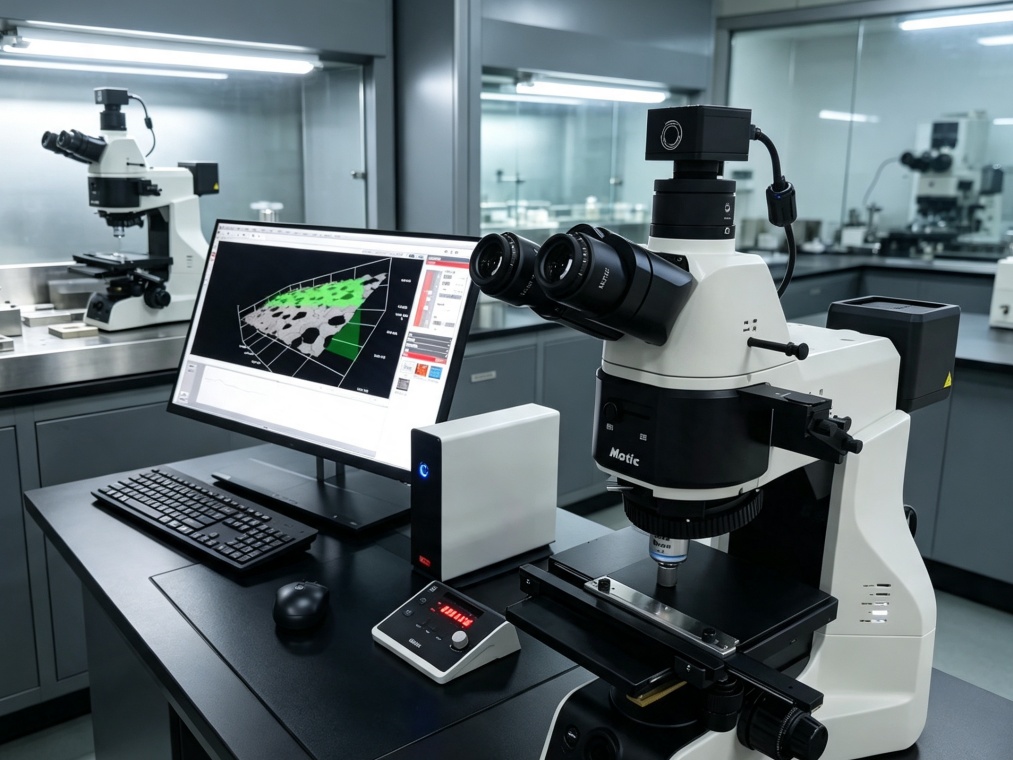
When cell size and counts must be measured, usually with a digital camera and measurement software.
4. Three practical configurations
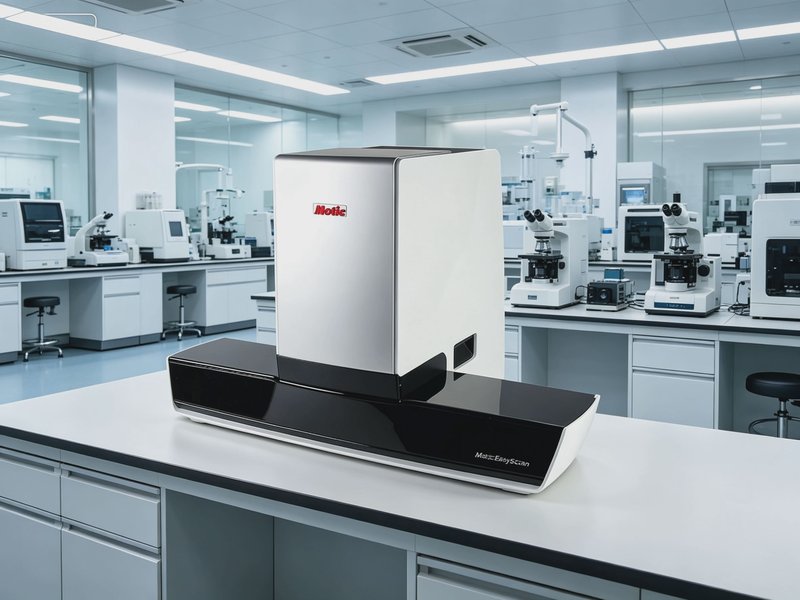
Basic teaching laboratory: mostly biological microscopes, one per student group; integrated digital models let the teacher demonstrate on a large screen, with one or two stereo microscopes for macroscopic specimens.
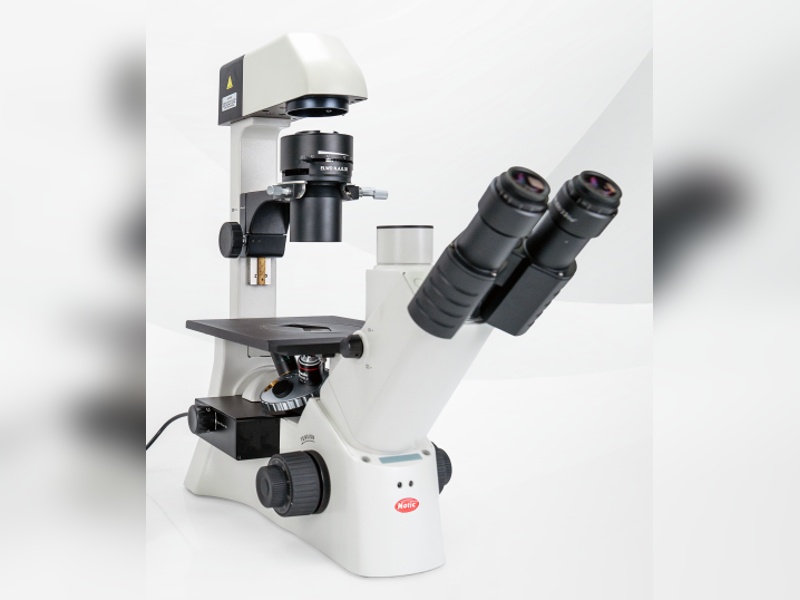
General laboratory: roughly half biological, half stereo, plus one inverted microscope for cultures and a shared digital imaging system.
Specialised direction: configure deeply around the research area — fluorescence and digital slides for pathology, metallography and ultra-depth-of-field for materials, inverted fluorescence and live-cell imaging for biology.
5. Do not neglect the accessories
Objectives determine how fine you can see, the light source determines colour and brightness stability, and the camera determines whether the image is usable. Many budgets go almost entirely into the stand, with objectives and camera compromised — and the images show it.
Conclusion
Configure by sample form: translucent specimens go to a biological microscope, opaque ones to a stereo microscope, and anything in a dish to an inverted microscope. Classify the samples first, then discuss quantities and models — that is more rational than fixing a budget and dividing it up.